Angular CLI 1.6 預設內建 service-worker 功能,只要在建立時加個參數,就可以將 service-worker 設定起來,就是這麼方便,但細節設定呢?
!! 請注意,以下的內容必須使用 Angular CLI 1.6 板材可以使用
基本
當安裝完 Angular CLI 1.6 後,ng new 的指令參數增加了 —service-worker ,建立包含 service-worker 的專案所需要打的指令,可依自己的需求調整參數
1 | ng new <project name> --service-worker |
當新增這參數後,CLI會幫我們做以下的事情
-
安裝
npm install @angular/service-worker -
.angular-cli.json內開啟service-worker: true的設定 -
在
app.module.ts內註冊ngsw-worker.js檔案1
2
3
4
5
6
7
8
9
10
11
12
13
14
15
16
17...
import { ServiceWorkerModule } from '@angular/service-worker';
...
({
declarations: [
AppComponent
],
imports: [
BrowserModule,
AppRoutingModule,
environment.production ? ServiceWorkerModule.register('/ngsw-worker.js') : []
],
providers: [],
bootstrap: [AppComponent]
})
export class AppModule { }
-
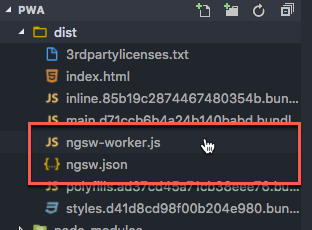
建立
ngsw-config.json檔案,ng build —prod後產生的 ngsw.json 會根據這個 json 檔案內容1
2
3
4
5
6
7
8
9
10
11
12
13
14
15
16
17
18
19
20
21
22
23
24
25
26
27{
"index": "/index.html",
"assetGroups": [{
"name": "app",
"installMode": "prefetch",
"resources": {
"files": [
"/favicon.ico",
"/index.html"
],
"versionedFiles": [
"/*.bundle.css",
"/*.bundle.js",
"/*.chunk.js"
]
}
}, {
"name": "assets",
"installMode": "lazy",
"updateMode": "prefetch",
"resources": {
"files": [
"/assets/**"
]
}
}]
}
service worker 只會在 ng build —prod 的時候被產生出來,所以就讓我們做第一次的建置
1 | ng build --prod |
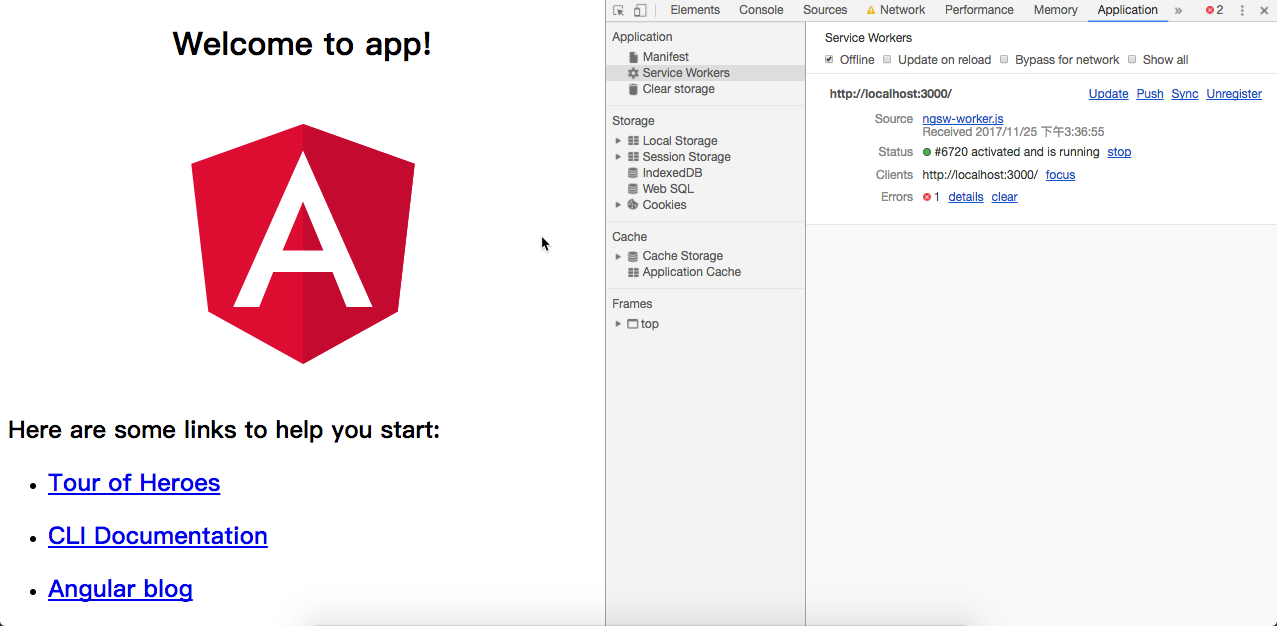
到這個步驟,最基本的 PWA 網站就算完成了
注意: 請勿在 ng server 模式下測試 Angular Service Worker
設定檔
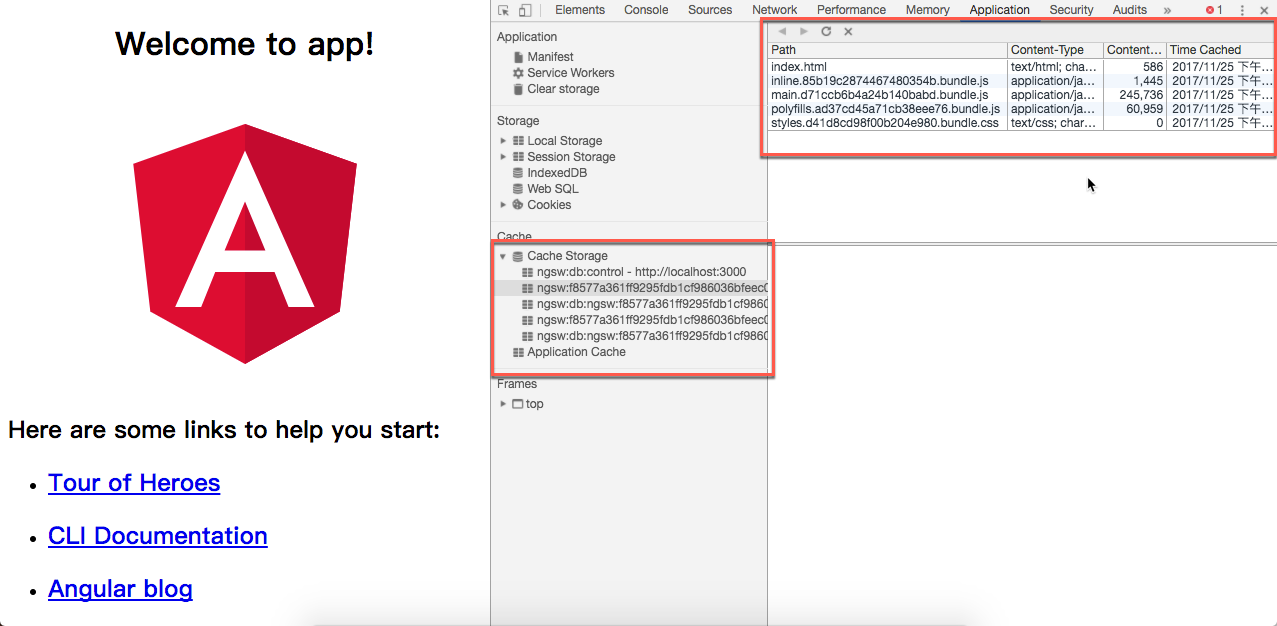
關於 service worker 相關的設定項目,都可以在 ngsw-config.json 內設定,包含 cacheing 的方式跟時間等
1 |
|
上列的介面定義檔說明了很詳細,對於 DataGroup 內的 cacheConfig strategy 有兩個可以選擇
- freshness: network first mode
- performance: cache first mode
其他備註
[2018-01-19 更新] 在後來使用時,發現一個很神奇的現象,假如我有使用到 RxJS 的狀態時,單純使用 ServiceWorkerModule.register('/ngsw-worker.js') 是無法將 service-worker 成功註冊起來,必須在 main.ts 修正成這樣,才能成功註冊 service-worker
1 | platformBrowserDynamic() |
Recap
Angular CLI 1.6 版讓我們可以很容易地將 service-worker 的功能加到專案內,而 service worker 的功能不只有離線瀏覽的功能,還有 push notification 的功能,或是如何利用程式碼的方式更新 service worker cache 的內容,將在下一篇文章中說明