昨天提到 Exception Filter,今天來談談 Pipe,Pipe 在 NestJS 裡面有兩個比較常見的使用情境, 1. 轉型 2. 驗證。至於怎麼完成呢?
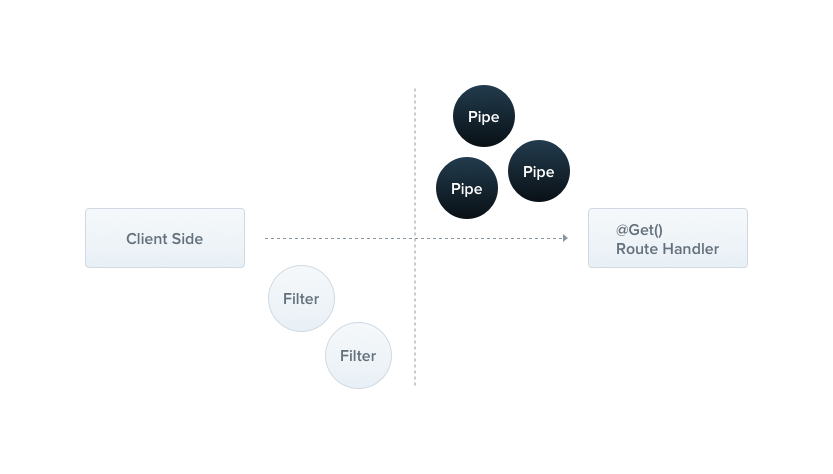
根據官網的圖,Pipe 是落在這一個象限內。
而常見的使用情境有
- 轉型 (Transformation)
- 驗證 (Validation)
建立與註冊
CLI 指令
1 | nest g pi <pipe name> |
1 | import { ArgumentMetadata, Injectable, PipeTransform } from '@nestjs/common'; |
是否有一種熟悉的感覺,就跟 Angular 的 Pipe 語法很類似,沒錯,基本上就是類似的運行方式,而註冊方式與註冊 Exception Filter 雷同
1 | ... |
Pipe 詳解
1 | transform(value: any, metadata: ArgumentMetadata) { |
transform 函式內有兩個參數,一個是value 另一個是 metadata,以下為 metadata 的格式
1 | export interface ArgumentMetadata { |
實際取得的資訊如下

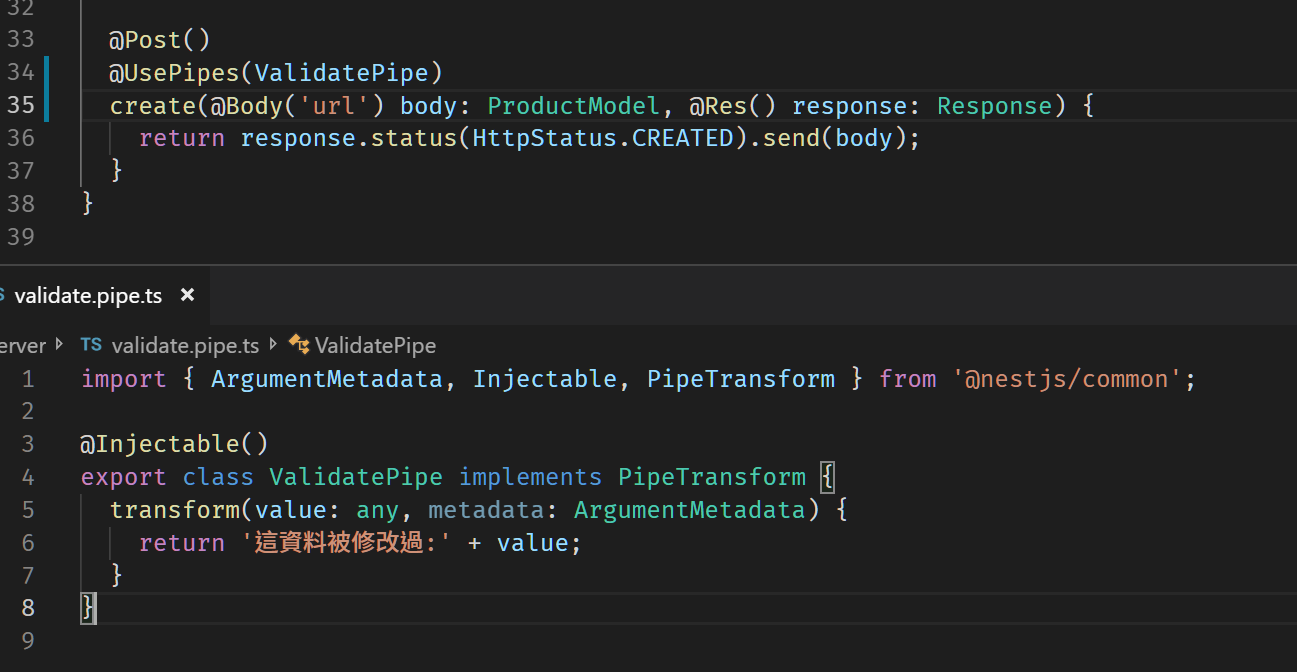
重新看一下使用 Pipe 的 Controller
1 | () |
@Body():@Body可設定要從Body取哪一個值,類似 pluck 的功能,而相關的資訊會顯示在 Pipe 的 metadata.data,但必須為文字,如果不傳,metadata 的 data 會收到undefined,- 參數型別,
body: ProductModel,後面的型別會顯示在metatype上, metadata.type會顯示接受到的資料是來自哪裡
既然可以取道完整的資料,就可以做到轉型或是驗證的功能。轉型比較簡單,我們先來看怎麼做
轉型
其實就將要改變的資料回傳回去就可以了
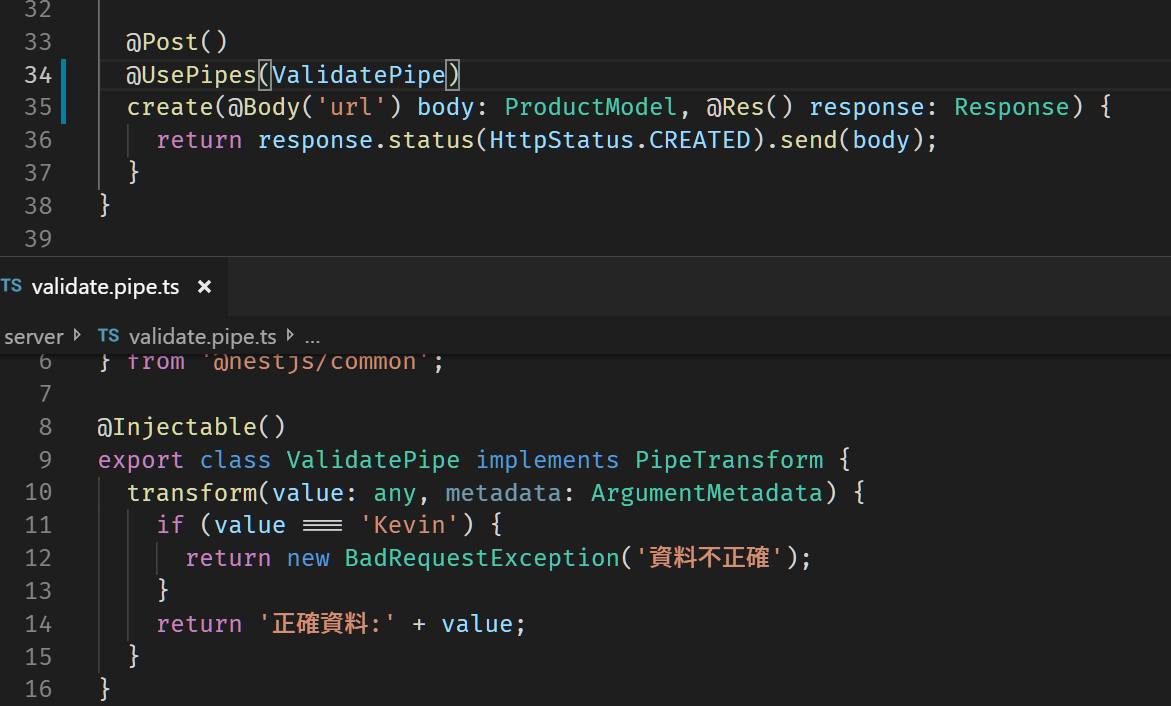
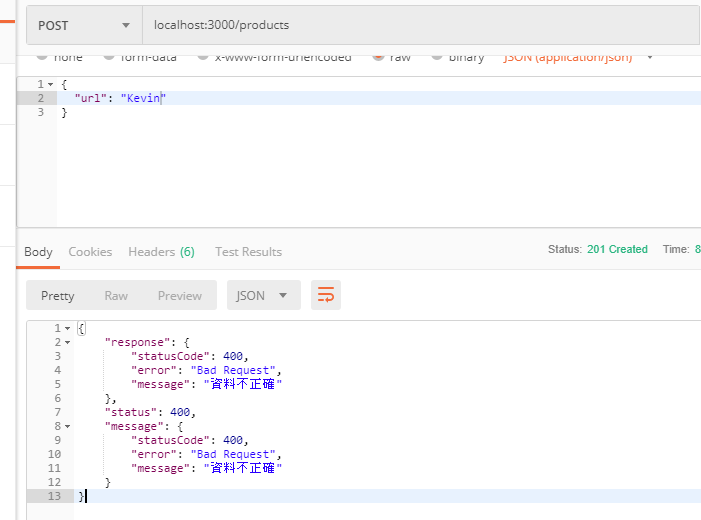
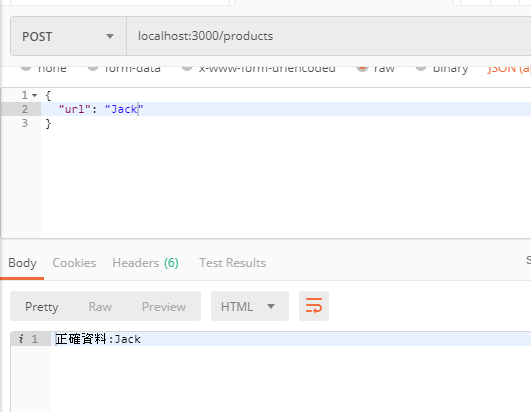
驗證
既然能轉型,就能做到驗證,因為驗證資料格式的方法有很多種,這裡我們就簡單示範一下
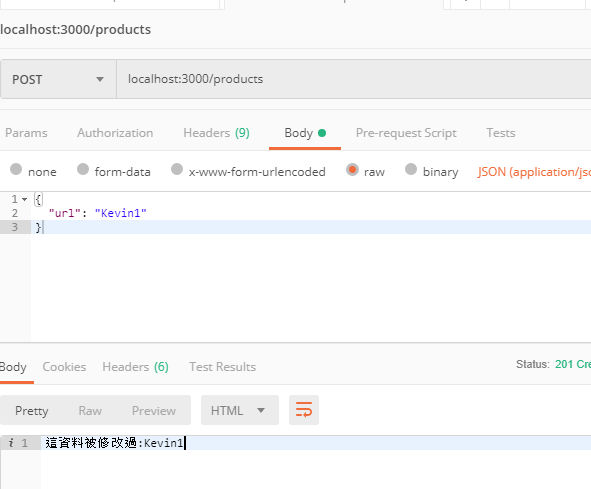
執行結果
結論
官方也有提供一些內建的 Pipe 可以直接使用,例如 ValiationPipe 和 ParseIntPipe ,至於詳細的用法,可以參考官方文件 (連結在此),真的可以花點時間看一下 ValidationPipe 的部分,可以省去不少資料驗證的工作